- Trait Tech Limited
- +86 18923455345


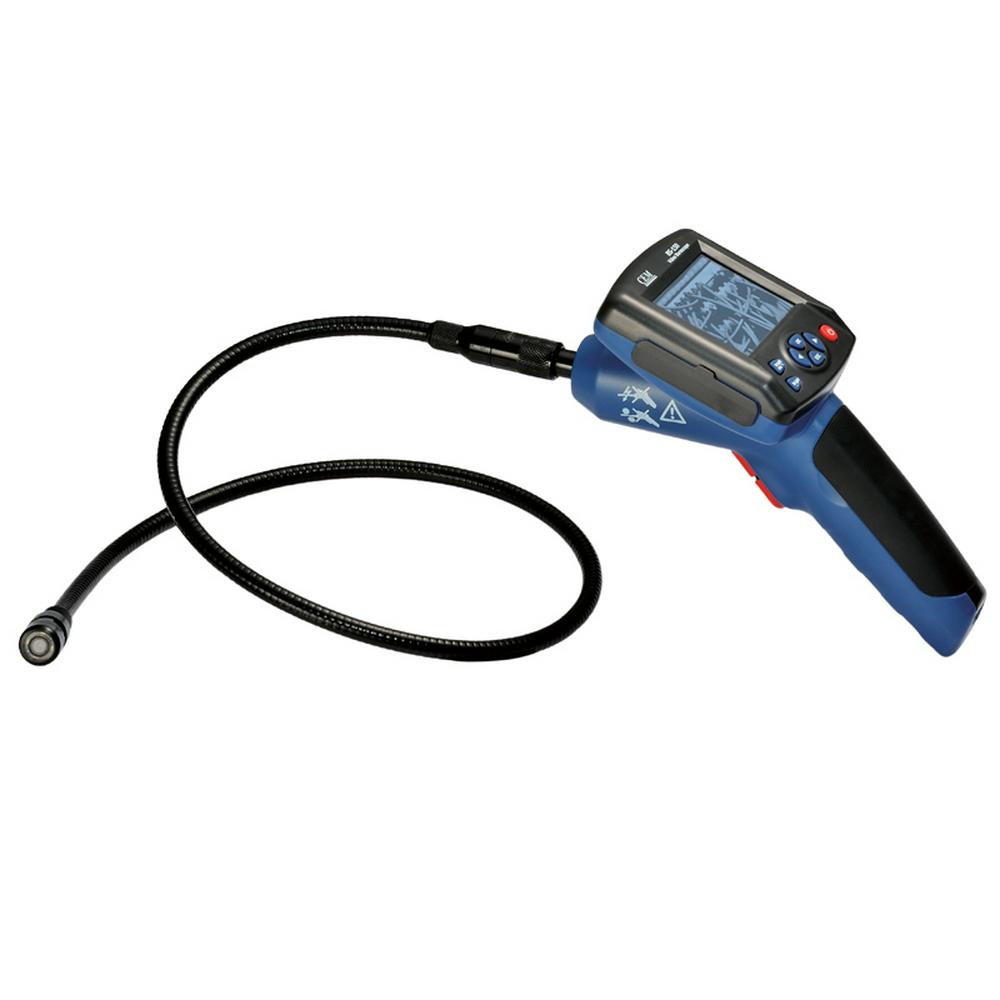
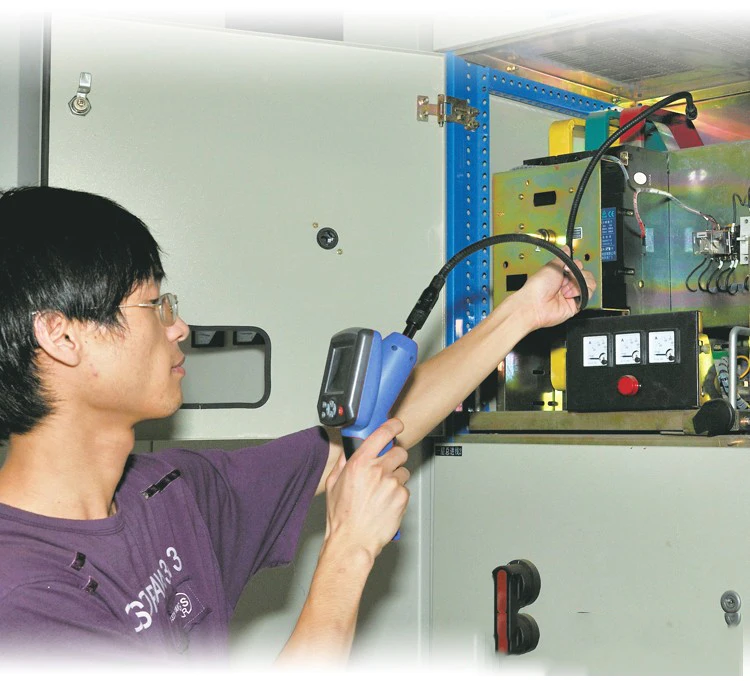
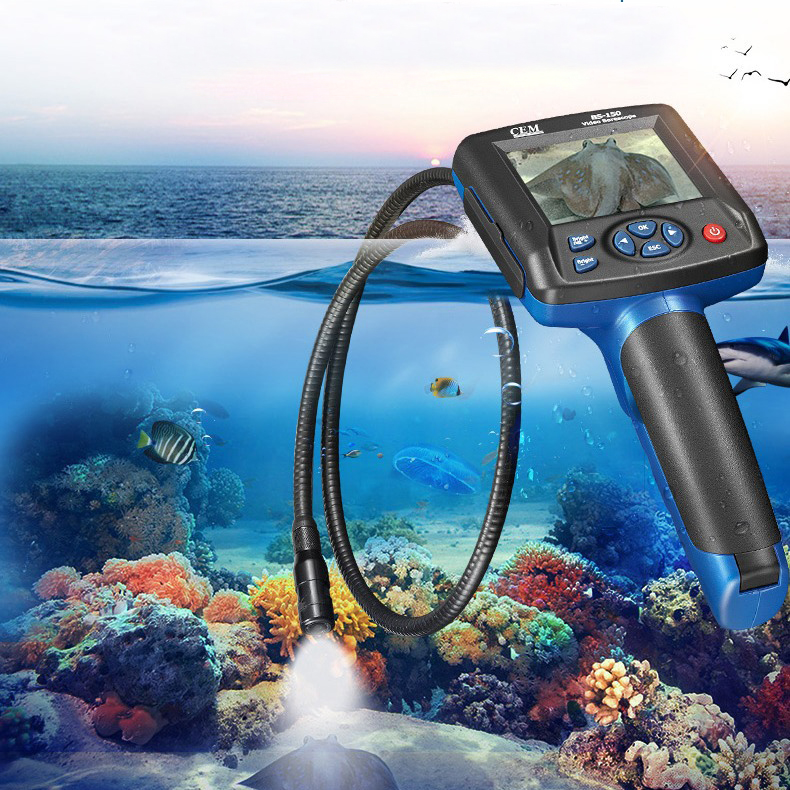
Video/Endoscope Pipeline Camera Waterproof Machine Maintenance Inspection Video Instrument BS-150
Sku
GAENC0022
$196.74
| Qty | 1 | 2 | 3 | 5 | 10 |
|---|---|---|---|---|---|
| Price | $205.31 | $203.85 | $201.11 | $198.71 | $196.74 |
Qty
Sales Ends In
- Buyer Protection
- Full Refound if you don't receive your order
- Full or Partial Refund,If the item is not as described
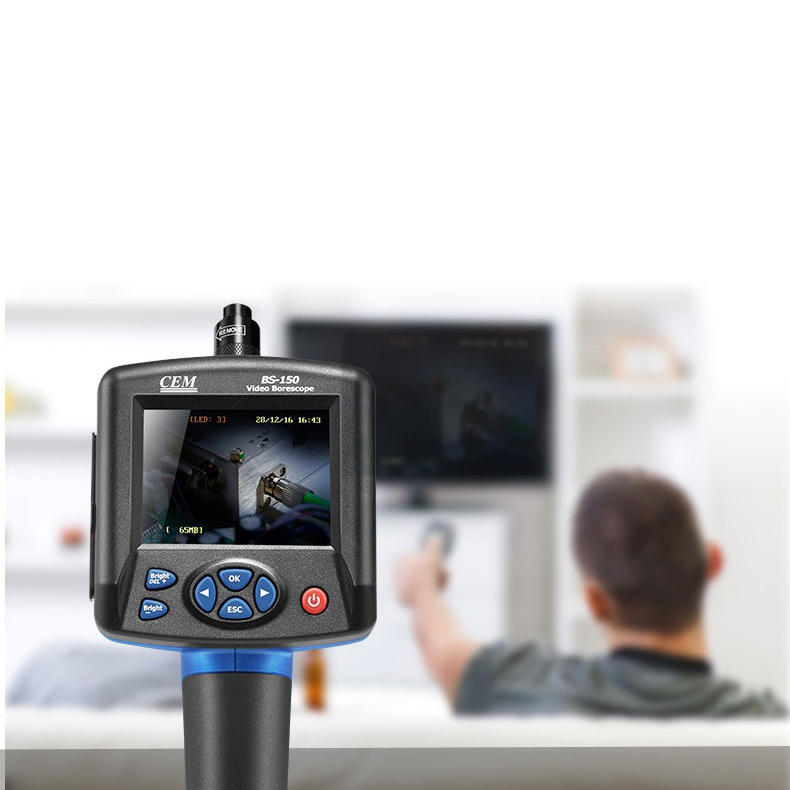
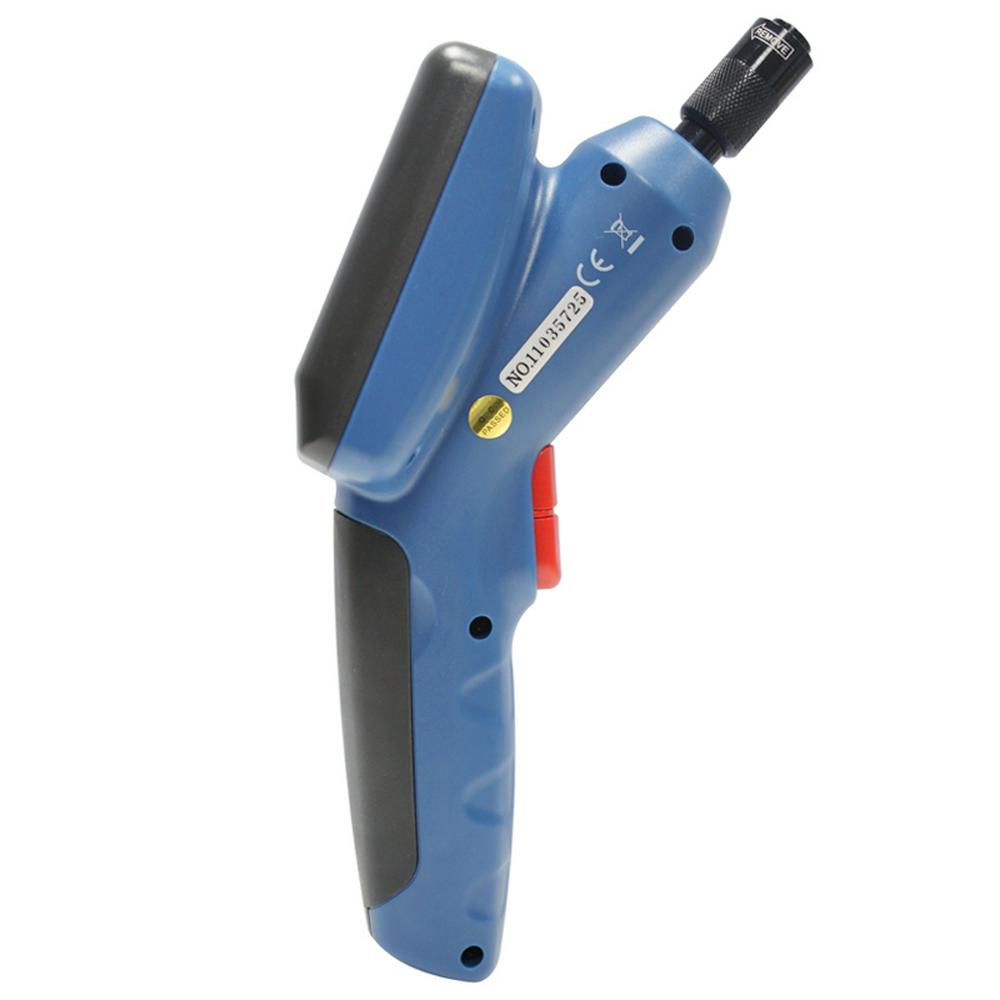
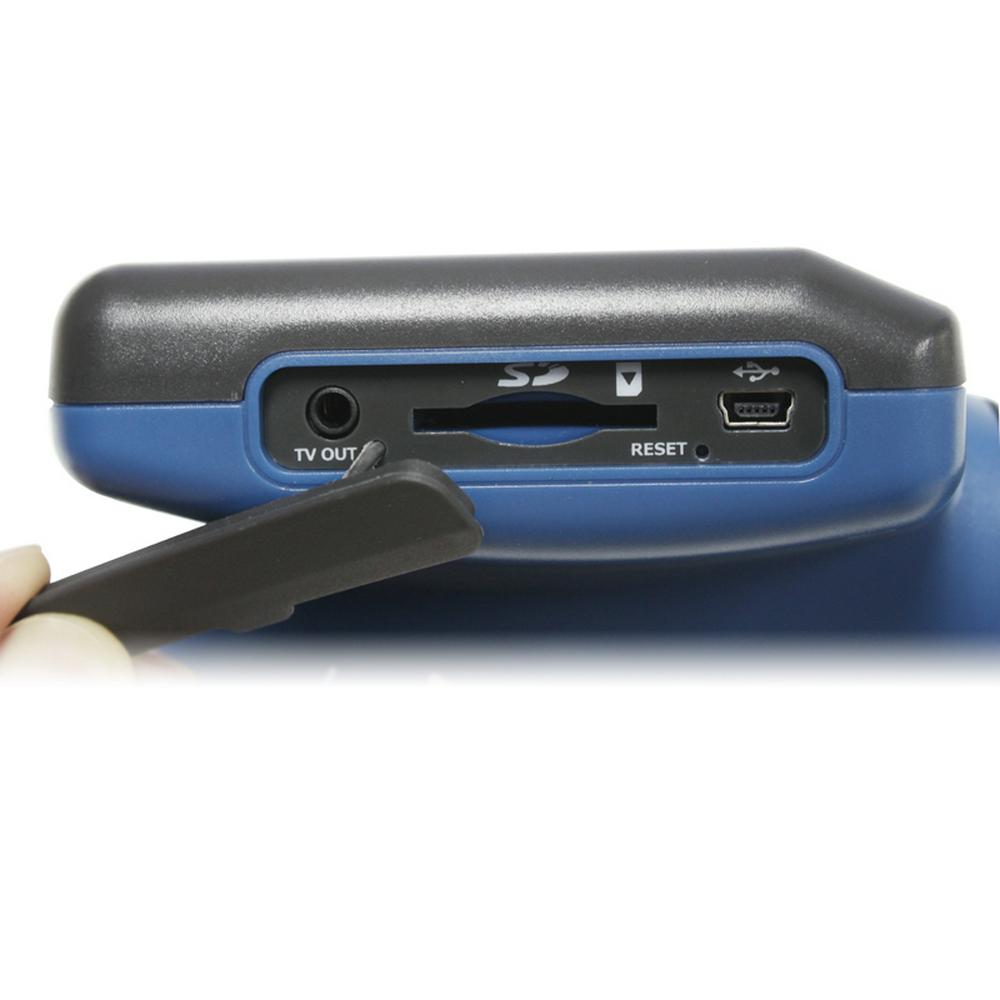
3.2" Color TFT LCD, supporting photo/video, time/date display and multilanguages. Video and images can also be transferred to your PC via the SD Card or USB cable(included). Waterproof(IP67) flexible gooseneck retains configured shape.
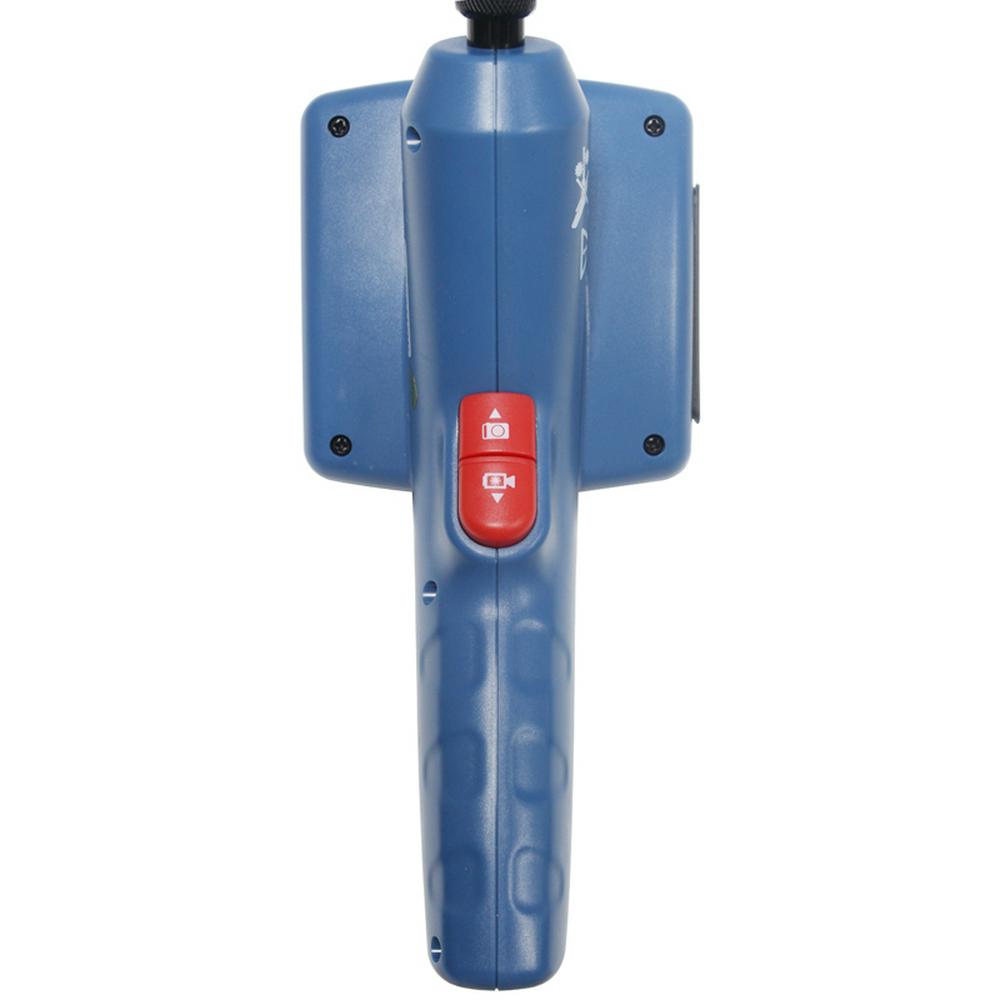
1. Power switch: Hold down the power button for 3 to 5 seconds to start the machine to enter the image/video view mode; press and hold for 3 seconds to shut down.
2. Adjust CMOS brightness: In the camera mode, press the Bright+ button LED each time to increase the brightness of the backlight, and the display prompts the current brightness level; each press of the Bright- button reduces the backlight to darkness. Bright and dark cycles (10 is the brightest, 0 is the darkest; LED is off when it is 0)
3. Rotate the image: press the up/down key to adjust the display angle of the display. When our camera extends into the pipeline and the display shows a 180-degree image, press these two keys to adjust the image to 0 degrees. Displayed on the display for easy viewing of objects.
4. Photograph: Press “SNAP” key once to save a picture. (Open the date/time in the System setup\time menu, photos will show the current date and time; photo viewer can browse these photos under the local System setup\Explorer\Picture view menu)
5. Video: Press and hold the RECORD button for 3 seconds to enter the video. At the top left of the screen, the video symbol will flash (indicating that the video is being recorded). In the lower left corner, the variable free storage is displayed. Then press the “RECORD” button to store the video. (Video files can be played under the Local System setup\Explorer\video player menu)
6. Press “OK” key in camera mode to pop up a dialog box. Press left and right arrow keys to select “YES” and then press “OK” key to access the system setting interface.

Accessories:
power adaptor, USB cable, mirror,
hook, magnet, gift box with carrying case.